
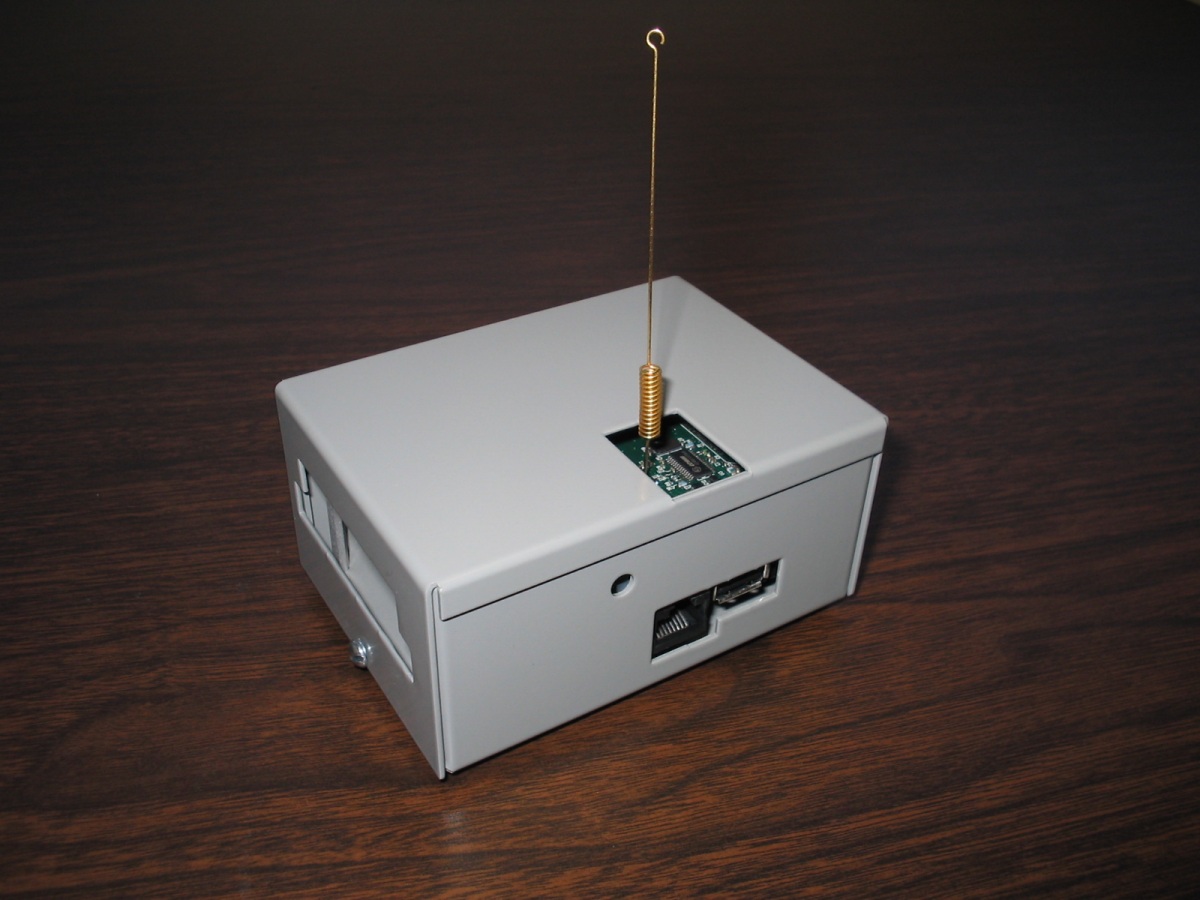
You are Done!
This web page illustrates how to assemble the Stargate enclosure designed by USC/ISI.
| Step |
Description |
Picture
(Click for large views) |
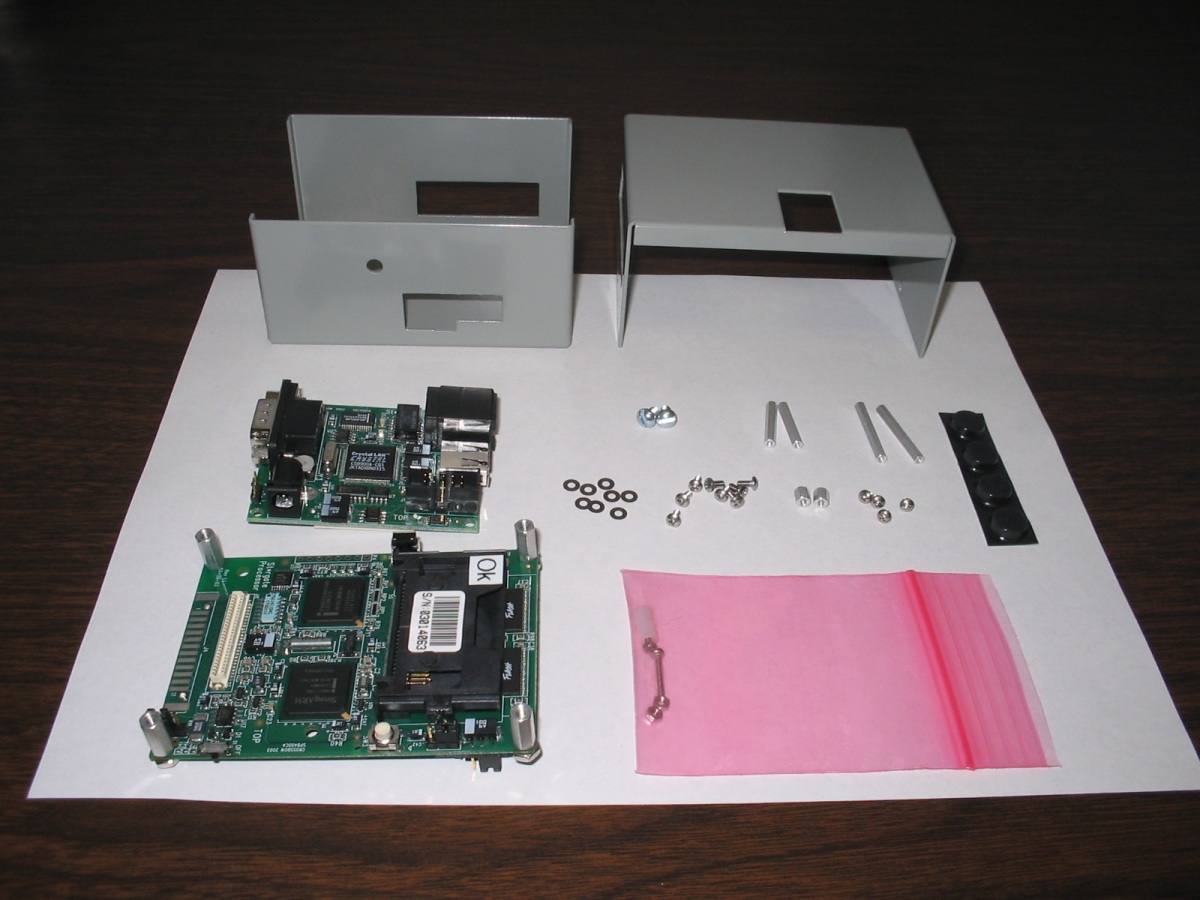
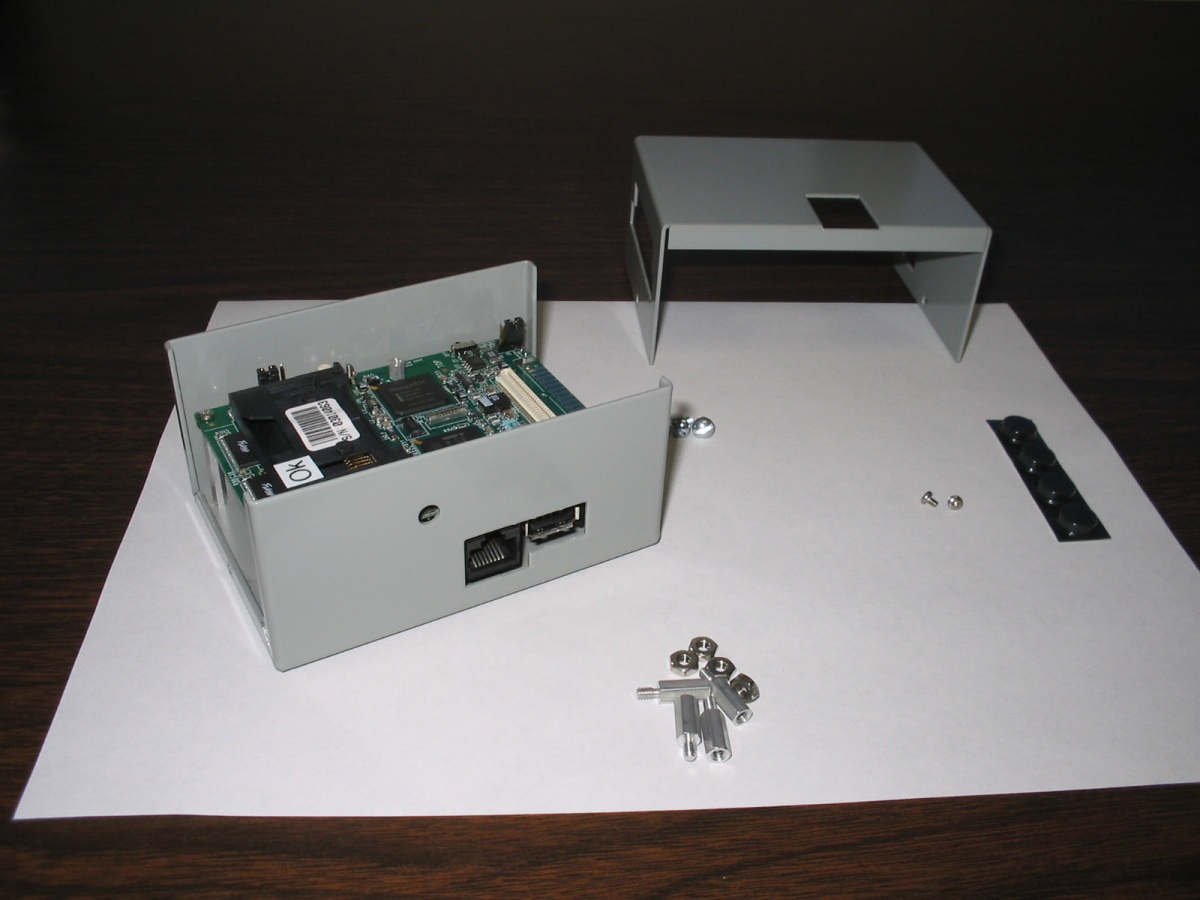
| 0 |
Put all pieces on the table. |
|
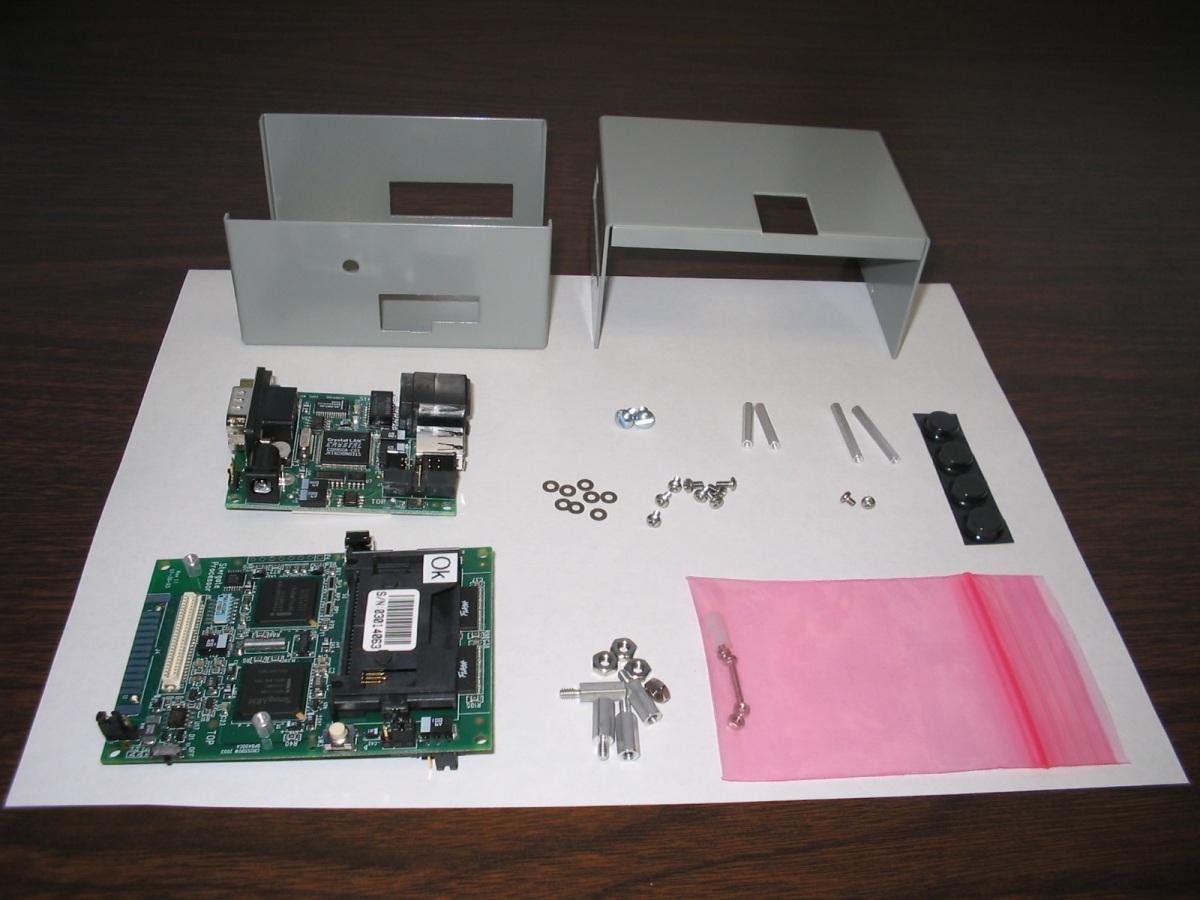
| 1 |
Remove original standoffs. Put on the two standoffs that support the mote on the main board. | |
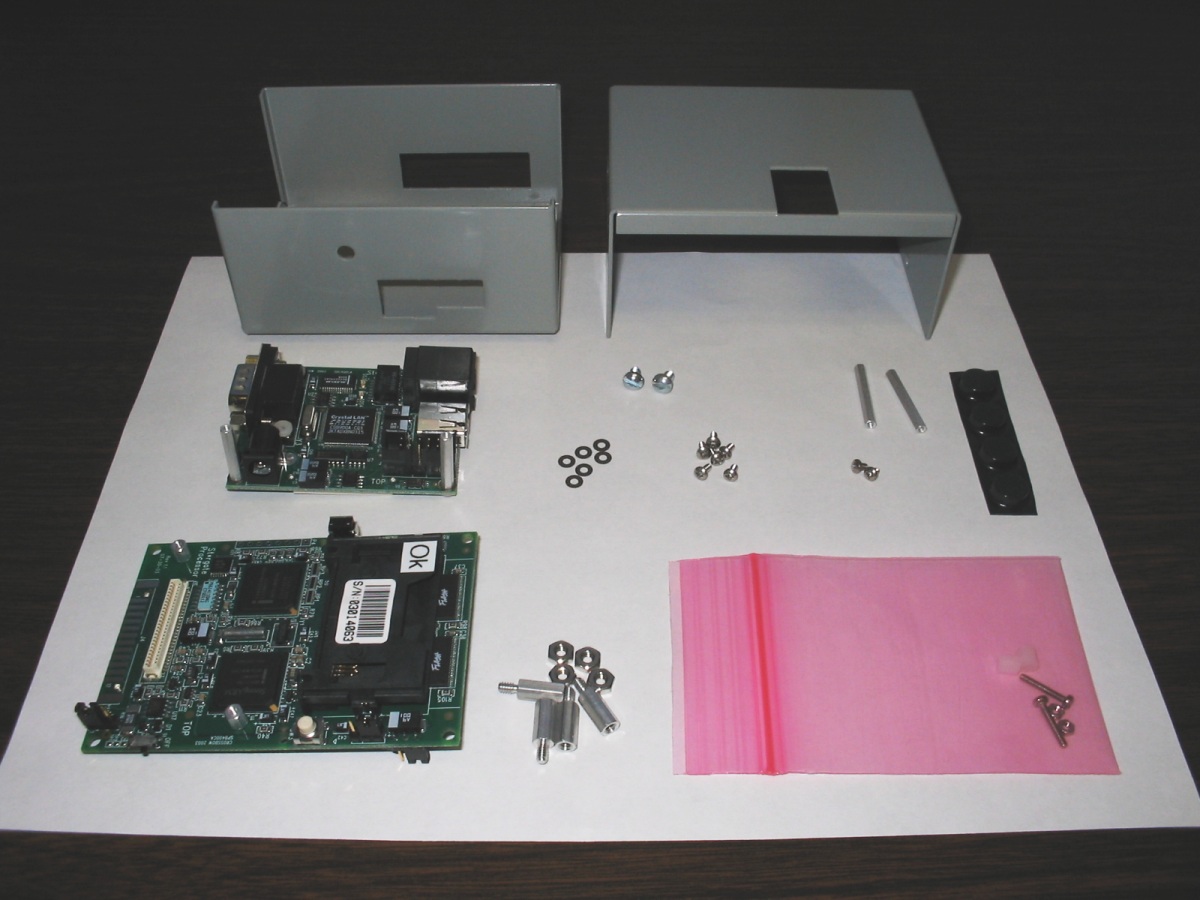
| 2 |
Put on the two 0.75-inch standoffs on the daughter board. Please use a flat wahser between each standoff and the board, since the holes on the board are a little bigger for the standoffs. | |
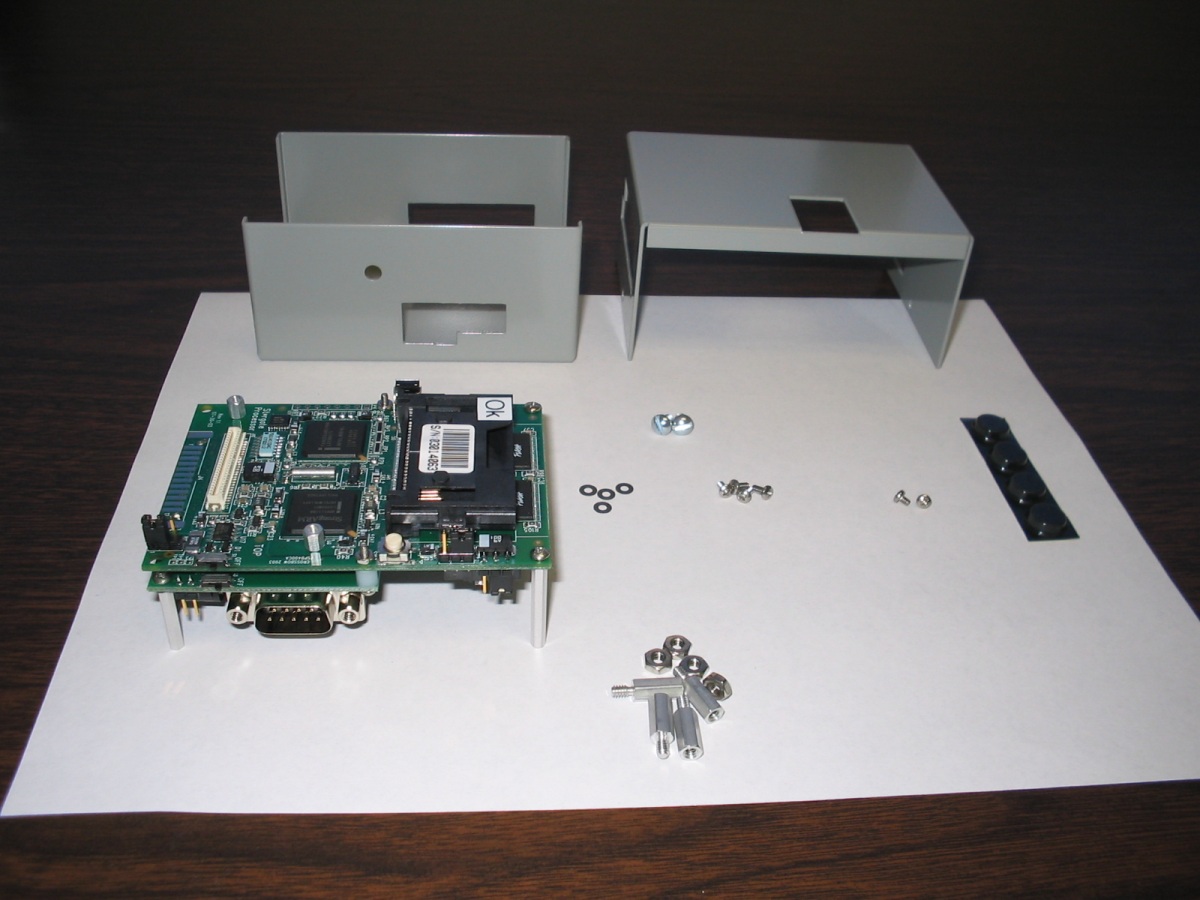
| 3 |
Mount the daughter board to the
main board, using accessories supplied by Crossbow, Inc. Put on
the two 1-inch standoffs on the main board. Please use a flat wahser
between each standoff and the board. |
|
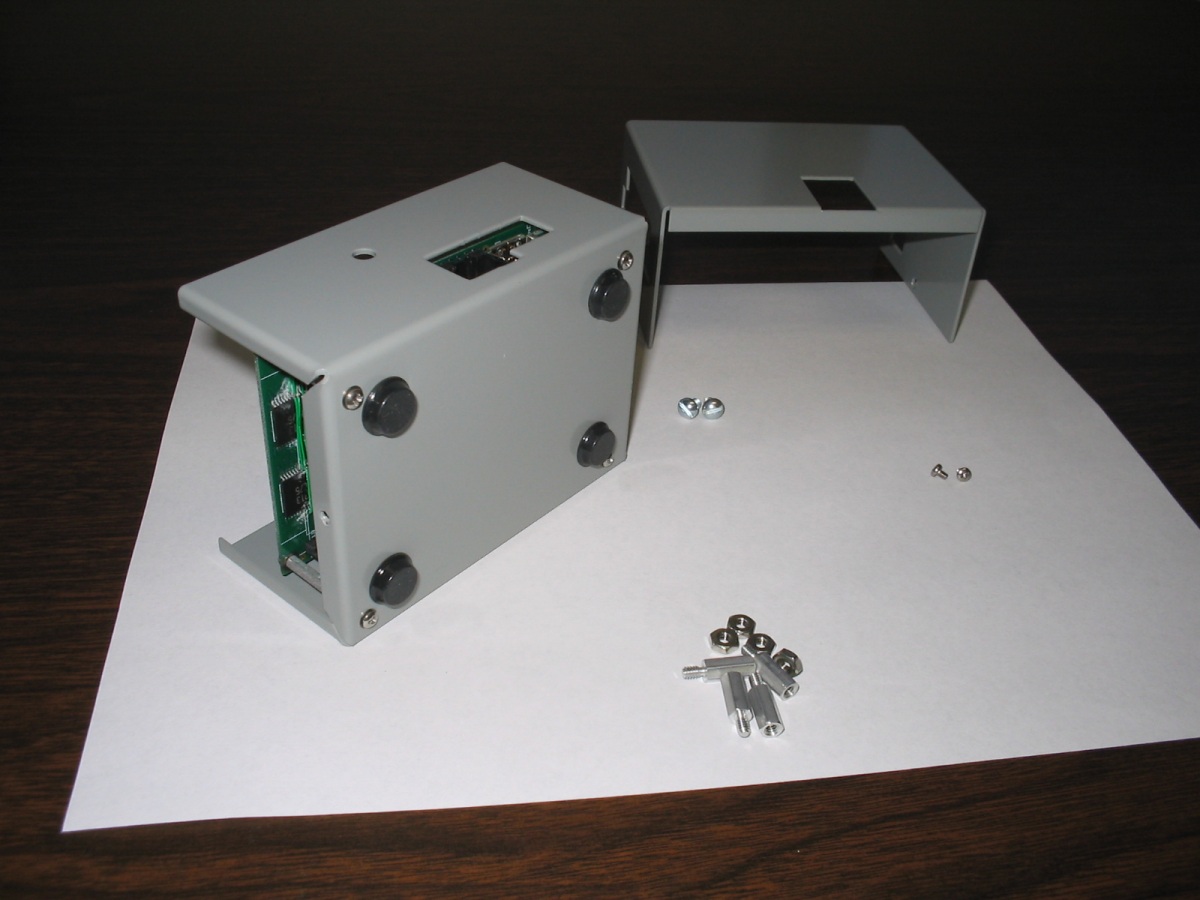
| 4 |
Mount the Stargate boards onto
the bottom of the enclosure, using screws and lock washers from the outside
of the enclosure. |
|
| 5 |
Put bompons on the bottom of the
enclosure. |
|
| 6 |
Put on the mote (Mica or Mica2)
to the Stargate. Use two short screws to fix it if you don't need to
take if off. (Programing the mote can be done directly through the
Stargate.) |
|
| 7 |
Put on the cover of the
enclosure, and fasten it by the two big screws. You are Done! |
|
Go back to Stargate
enclosure information page.
If you have any comments on the enclosure, please email Wei Ye
([email protected]).